October 30, 2022
How to Clean Different Kitchen Appliances
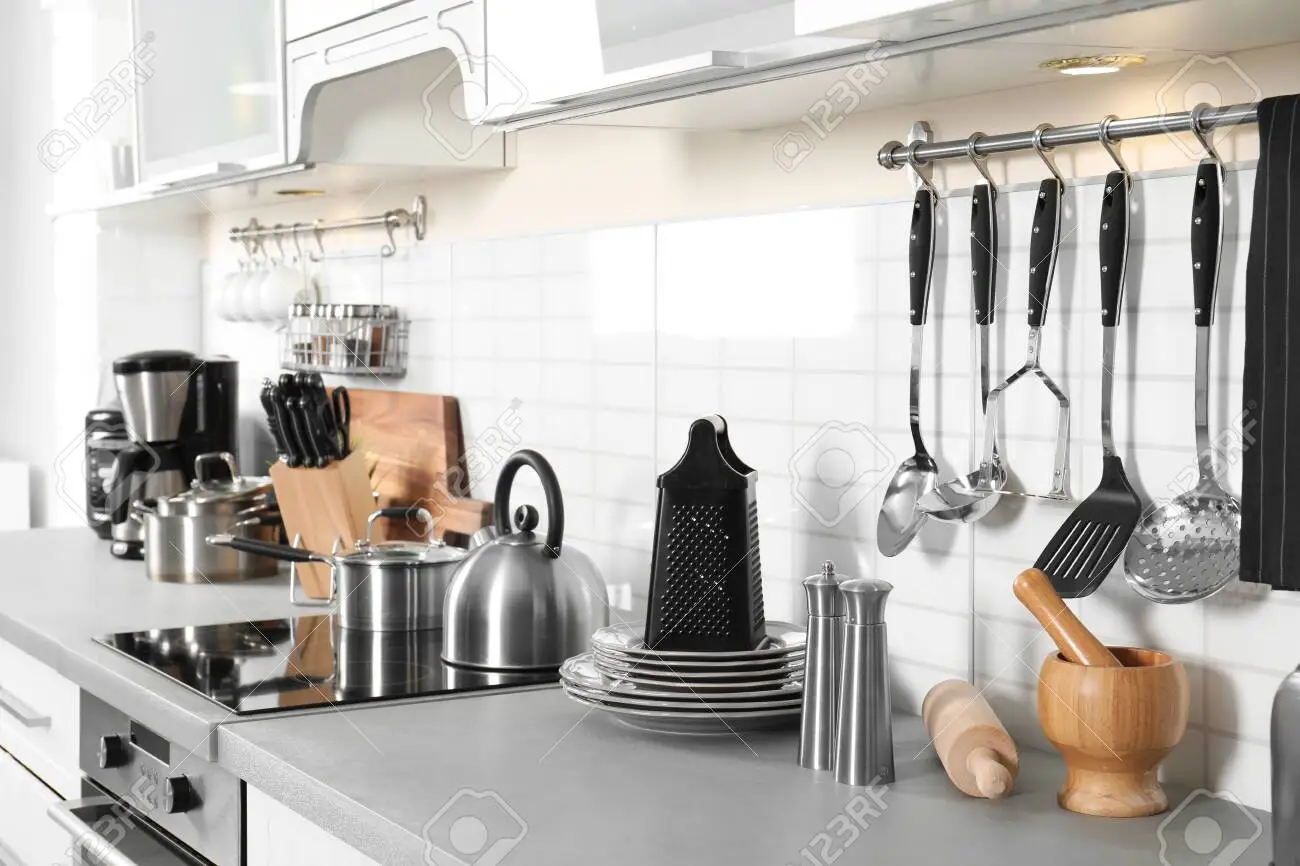
All Kitchen appliances are usually used for beverages and food preparation; despite this, we mostly neglect them for deep cleaning. We all know that in our daily routine, from breakfast to night meal prep, kitchen appliances are useful and save us time and energy in the kitchen. Here we’ll discuss how to keep different kitchen appliances clean.
But regular use can make appliances a bit worse by the look and use and need standard cleanliness for hygienic reasons. Don’t worry! All kitchen appliance types are very easy to neat & clean. So give them some time for home cleaning services.
On the other hand, many owners who try to clean all kitchen appliances end up finding shiny surfaces but lots of bacteria prowling in hidden spaces.
The best way to avoid this and clean the important parts of machinery properly is to know the best cleaning tips to provide 100% complete and satisfactory results. So keep reading to know easy cleaning tips & tricks for the most important kitchen appliances out there.
Why Is It Essential to Clean Kitchen Appliances?
Regular cleaning of appliances is necessary to help avoid build-up and future problems. Most appliances have switches, handles, and buttons that can easily store fallen food pieces or leaked grease.
Regular kitchen appliance cleaning will ensure that they all are completely free of germs, dirt, and any stain that will cause malfunctions. The kitchen deep cleaning benefits are:
- Increases the lifespan of appliances
- Minimizes the Coronavirus spreading chances
- Improves overall hygiene
- Decrease the foodborne disease spread
- Keeps you compliant with health regulations
- Keeps kitchen equipment working properly
- Reduces the pest’s risk
How to Clean the Kitchen Appliances?

The kitchen is still like a king in your home, and with full maintenance and cleaning, you can considerably increase your kitchen appliances’ shelf life. Some tips to keep your kitchen appliances running smoothly.
Refrigerator:
Some bacteria cannot survive in a refrigerator, but some grow well in cold temperatures and cause foodborne illnesses. Therefore, make your refrigerator deep cleaned every 2-3 months. However, it needs some effort and time. Here is a simple and easy step-by-step refrigerator cleaning guidance to follow:
- First, turn off your refrigerator’s main power supply for safety reasons and let it come down to room temperature.
- Take all the fridge items out, categorize them through the material and spoilt dispose of expired foods.
- Remove the racks, shelves, and drawers of the fridge, and after that soak & scrub all these removable pieces in soapy warm water with a dish wash scrubber.
- Spray the fridge interior with a make DIY cleaning solution. It will make with warm water and half part of vinegar. You can also add some lemon drops for a fresh fragrance. Now, leave it for about a minute.
- Clean the interior surface from top to bottom by using a scrubber. For stubborn stains and narrow spaces, you can use an old toothbrush.
- When the interior and exterior are scrubbed properly, remove any leftover wreckages by rubbing them with a damp and clean kitchen towel. Follow this to dry the interior and exterior surface of the fridge with a dry clean towel to make a polished look.
- On the other hand, when all removable components dry, replace them and turn on the appliance to restock the fridge.
Gas Stove Cleaning Steps:
A gas stove is the most often greased-up kitchen appliance. Prone to food spills, burnt-on grease, and oil splatters; your stove needs a daily wipe down. A weekly deep cleaning for a gas stove is required to free bacteria and look good as a new one. Here’s how you can clean your gas stove:
- First, when your stove cools, remove the burners and grates; after that, soak and scrub them with a warm mixture of vinegar and water in equal parts.
- Use a smooth and soft cleaning brush and dustpan to swap up all loose debris from the stovetop.
- Make hot or warm cleaning water and dish soap solution and save it into a spray bottle when you apply this solution to the stovetop; after that, leave it for 5 minutes.
- Take a smooth and clean scrubber to start cleaning all surfaces of your stove. You can also use a cloth of microfiber for this.
- Use paper towels to clean up after scrubbing and wiping down with a damp kitchen soft cloth.
- For the burners and grates, take them out and scrub them with a metal scrubber or wire brush using dish soap.
- Rinse off the burners and grates, permit them to completely dry, and then fix them again to use.
Microwave Oven Cleaning Steps:
Microwave cleaning is not as easy often as it should be. This is because the microwave interior grill is large and too hot to touch. We mostly forget or do not prioritize cleaning the microwave oven after it cooled down. However, the good news is that cleaning all inside spaces to remove greasy is as easy as it can be. Effortless microwave cleaning guides are below:
- First, pour equal parts mixture of white vinegar and water into a microwave-safe bowl. You can also add some lemon drops.
- Spray it in the microwave, after turning it on the microwave for just some minutes to heat. Leave it for 5 minutes until the interior completely sweats/steam up with corners.
- Take out that bowl and wait for the interior to cool down enough to touch.
- Now, use a clean cloth or microfiber to insides wipe down, the ceiling, back, bottom, and all other sides until the grease and grime will remove a bit of icky remain, so you use rubber gloves pair for this.
- In the last, pour rubbing alcohol on a clean cloth or microfiber and swipe the microwave exterior. It’s a great way to sanitize the door handle, which usually harbors germs.
- Leave the door open for a few minutes to air out. If you feel a vinegar smell, add a few drops of essential oil on a fold-up paper towel and wipe down the microwave from the inside.
Toaster Cleaning Steps:
Toasters that are not used and cleaned regularly. So, this will start to smoke threateningly and can catch on fire. Therefore, it is necessary to regularly clean your toasters to keep them free of debris. Because when stale crumbs leave inside, that will not be a healthy way to make toast for your breakfast. So, here’s a simple guide on how to clean your toaster:
- Unplug the toaster because of safety reasons before you start. Firstly, remove the crumb tray to empty it.
- Wash the tray with water and dish soap mixture and leave it to air dry on a rack.
- Turn down the toaster over a newspaper and move it side to side to remove crumbs that are stuck behind the coils.
- Use a dry and clean toothbrush and softly scrub the coil and shake it again one final time.
- Dampen a microfiber cloth with a solution to wipe down the toaster exterior.
- When it dries, replace the crumb tray to use it again.
Coffeemaker Cleaning Steps:
The coffeemaker machine needs to clean out once a month. This is because hot water scale and rancid coffee tend to increase over time, affecting both the coffee taste and the machine’s longevity. A coffee maker cleaning is less complicated than any other one. Some tactics are here that need to cleaning:
- Make a solution of white vinegar and warm water (equal parts).
- Place a filter into the coffeemaker as you make a new pot of coffee.
- Add the mixture or solution into the water area and turn it on.
- Once the solution has run through, leave the coffeemaker for 15 minutes.
- In the end, run plain water to remove any solution remnants and ready to use.
Electric Kettle Cleaning Steps
When water boils it contains minerals, gets left behind and falls to the kettle’s bottom. This is most problematic if you live in a hard water area. So an acidic solution, either in the form of a powder-like citric acid or vinegar and water, is perfect for getting rid of these nasty scales. Also, you can follow these steps to clean your electric kettle:
- Firstly, make equal parts of water and vinegar in the kettle until it is about halfway full
- Bring to a boiling mixture and leave it in the kettle for 15 to 20 minutes.
- Pour off the mixture and wash the kettle with clean water at least 2 times.
- With a microfiber cloth, wipe out the exterior of the electric kettle until it’s clean, polished, and then ready to use.
Blender or Food Processor Cleaning Steps
A food processor or blender is the perfect tool to slice, chop, and shred the ingredients of many recipes. But cleaning all of these parts can look like a lot of bother. So it would be best if you get to know all steps, then you can do it easily and are more likely to use a food processor or blender.
- Food processors have many pieces. So take off the top to remove the pusher unit, the blade, and the bowl from the motor. Set the blade apart for a special clean.
- Immediately, wash the blade after use. Gently scrub it with a mixture of soap & water and a pad. Take a dry dishtowel to dry the blade and ensure no moisture space to rust.
- All the removable pieces wash in warm water and a dish soap mixture. Don’t wash them immediately; leave them for a while. Don’t scrub the parts with rough cleaners.
- Use a damp cloth to wipe down the motor and base area. Do not submerge the motor and base area in water or pour water. A baking soda paste can lift out the stain.
- Completely dry the processor pieces. Join them again and store them away.
Conclusion
The kitchen is the main part of a home where your daily food preparation usually proceeds; not cleaning it properly and accurately will give worse results like food poisoning from cross-contamination and other damaged or harmful things. It will be also stressful for you, particularly when you get kitchen appliances to break down due to your neglect and also the utility expenses go up.
So, keeping your kitchen appliance clean and sanitized will avoid food particles, any rust or grime, and wreckage from building up that can cause appliance failure. Make sure to clean & sanitize used appliances regularly which will also help you to reduce the risk and extend the appliance’s life. Let Maidinto help you with our professional team. Our residential cleaning services will help you to live a healthy life.